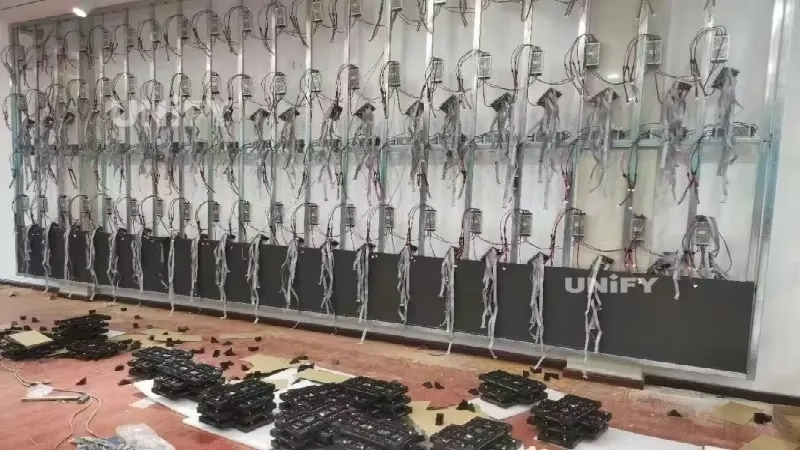
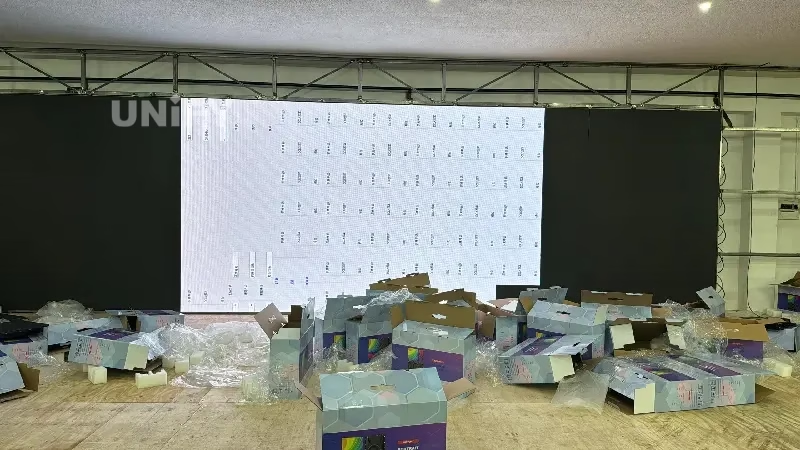
We understand that LED screen installation projects often fail due to a lack of engineering support, not hardware quality.
At UnifyLED, we provide technical backing, not just boxes:
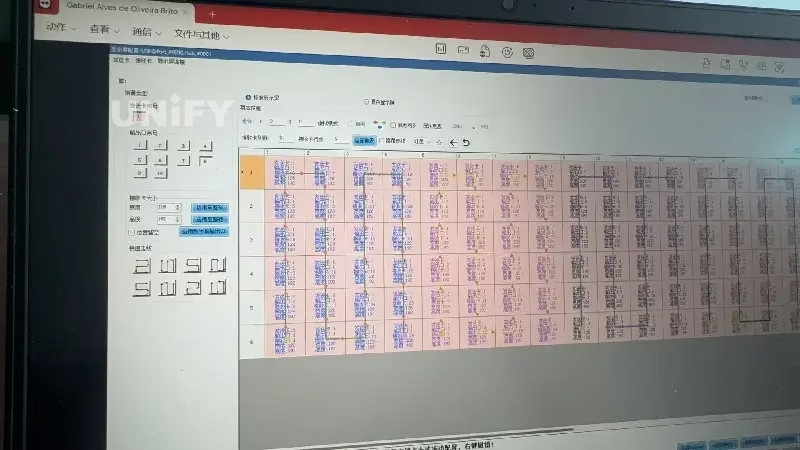
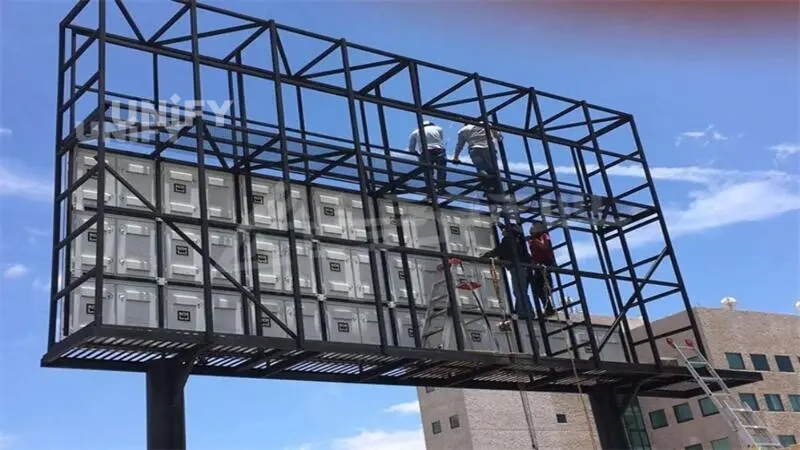
 CAD Structural Drawings: We calculate the wind load and frame specs for you.
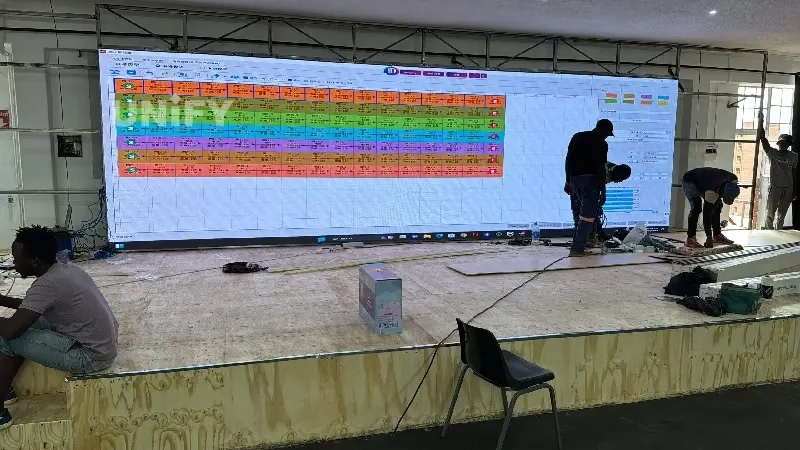
- Power Diagrams: Detailed 3-phase wiring maps to prevent overloads.
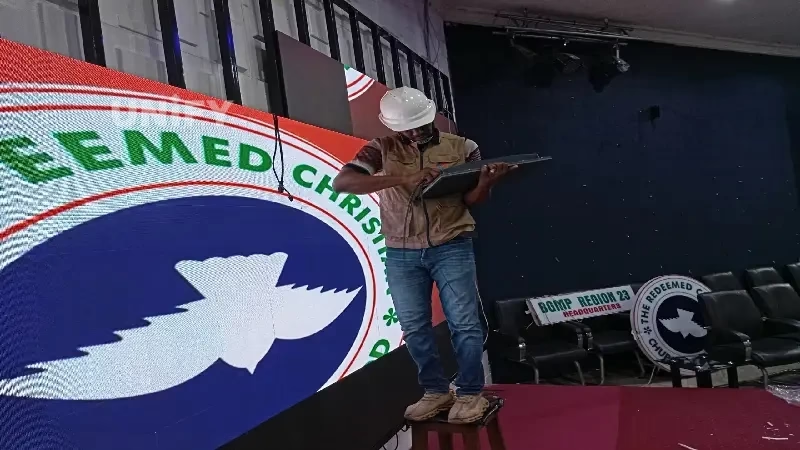
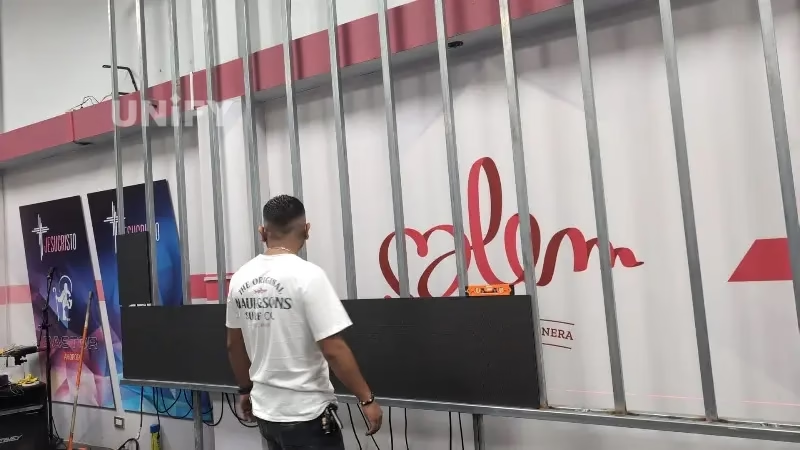
- On-Site Support: Remote or physical guidance for complex projects.
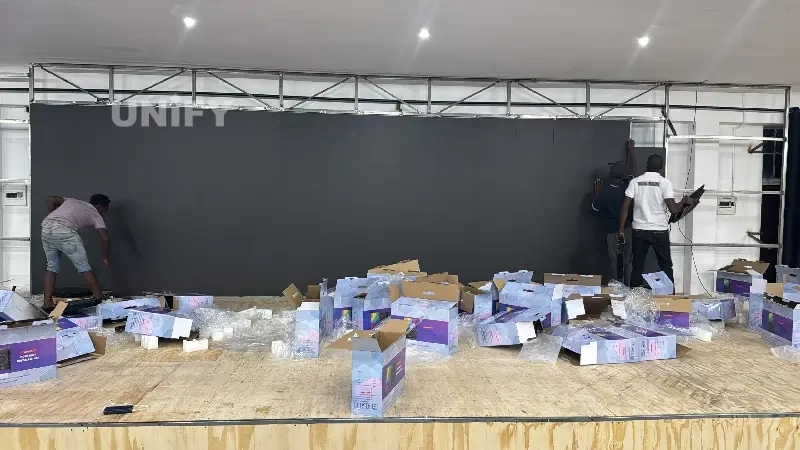
Ready to engineer your next display?
Contact our Project Team today for a free structural consultation.

IPS Display vs LED Display: 2026 Ultimate Comparison Guide
Compare IPS display vs LED displays to find the perfect screen for gaming, professional design, or retail. Explore 2026 updates on color accuracy, brightness, and energy efficiency to maximize your ROI.
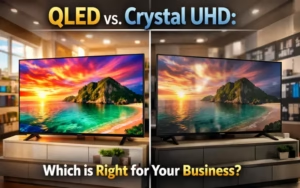
QLED vs Crystal UHD: Which Display Fits Your Business ROI?
Compare QLED vs Crystal UHD for commercial displays. Learn which technology fits your budget, limits of LCD, and when to upgrade to seamless LED Video Walls.
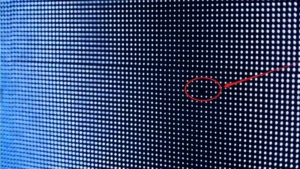
How to Repair P6 Outdoor LED Display Sign Board Screen
Learning how to repair P6 outdoor LED display sign board screens requires expert knowledge. Discover our step-by-step guide on module replacement, waterproof sealing, and color calibration.