We understand that LED screen installation projects often fail due to a lack of engineering support, not hardware quality.
At UnifyLED, we provide technical backing, not just boxes:
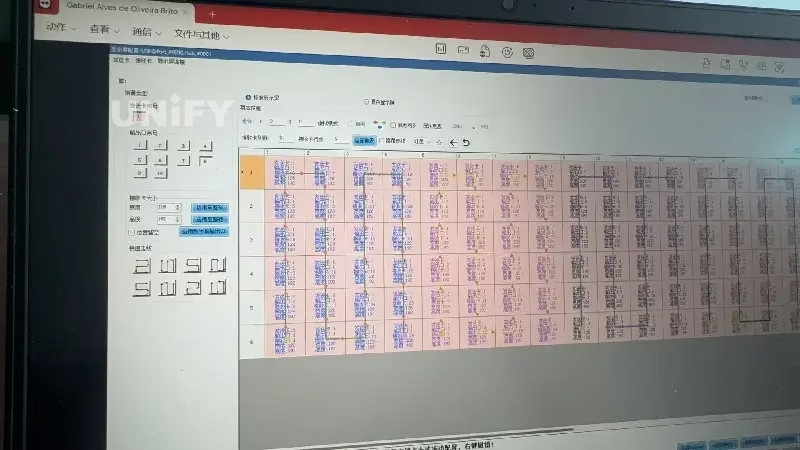
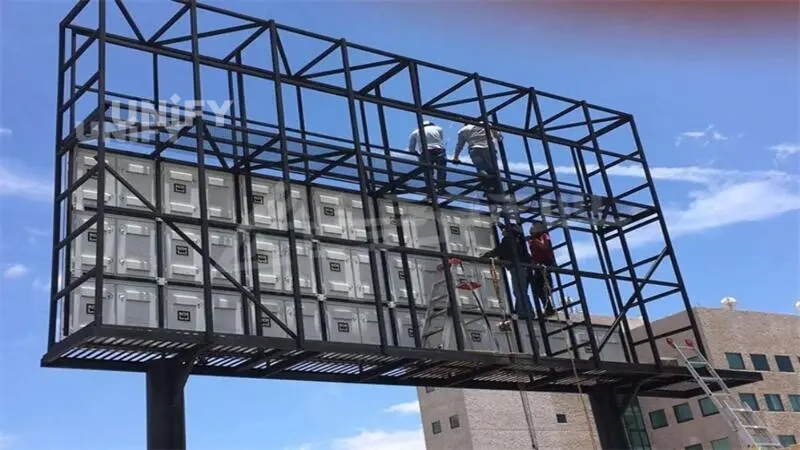
 CAD Structural Drawings: We calculate the wind load and frame specs for you.
- Power Diagrams: Detailed 3-phase wiring maps to prevent overloads.
- On-Site Support: Remote or physical guidance for complex projects.
Ready to engineer your next display?
Contact our Project Team today for a free structural consultation.
P4.81 Rental LED Display Waterproofing: IP65 Protection & Maintenance Guide | UnifyLED
Complete P4.81 rental LED display waterproofing guide: IP65 vs IP54 vs IP67, full glue potting process, EPDM gasket maintenance schedule, waterproof connector types, spray test protocol, and emergency rain protection for outdoor rental events.
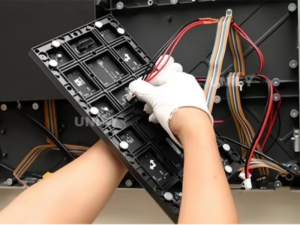
P4.81 LED Module Hot Swap Guide: Replace Modules Without Downtime (2026) | UnifyLED
Step-by-step P4.81 LED module hot swap guide: magnetic latch release, JST VH connector handling, 5-step procedure (60 seconds), front vs rear access, post-swap calibration, and when to power down vs hot swap. For rental techs and outdoor billboard operators.
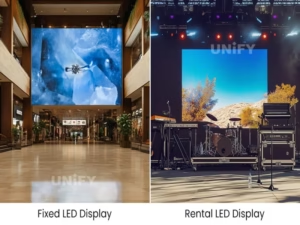
P3.91 LED Display Rental vs Fixed: Complete B2B Decision Guide (2026) | UnifyLED
P3.91 LED display rental vs fixed comparison: cabinet architecture, 5-year TCO analysis ($112K vs $64K), decision matrix, hybrid ownership model. Data-driven guidance for AV integrators, event companies, and venue operators.